


Organize Camping Gear: Home to Car to Campsite
Table of Contents
- Assess Your Camping Gear and Create a Checklist
- Set Up Home Storage for Camping Gear Storage Ideas
- Pack Your Car for Car Camping Organization
- Organize Gear Inside Your Tent and at Camp
- Clean and Store Camping Gear After Your Trip
- Common Mistakes to Avoid When Organizing Camping Gear
- Frequently Asked Questions
Last Updated: October 21, 2026
Assess Your Camping Gear and Create a Checklist
Before you can organize camping gear effectively, pull everything out of your closet, garage, and storage areas and lay it out in one place.
Create a checklist of every item, tents, sleeping bags, cooking equipment, clothing layers, and safety gear, noting each piece's condition and whether it needs cleaning or repair.
This inventory step saves you from buying duplicates or storing things you'll never use again.
Why a Checklist Matters
A camping gear checklist helps you pack faster and shows what gaps exist in your collection.
Use your checklist to organize gear by category:
- Sleep system (tent, sleeping bag, pad)
- Cooking gear (stove, cookware, utensils, food)
- Clothing (layers, rain gear, footwear)
- Safety and tools (first aid, flashlight, knife)
- Personal items (toiletries, medications, documents)
Mark items that need cleaning or repair before your next trip. This prevents you from discovering problems at the campsite.
Set Up Home Storage for Camping Gear Storage Ideas
The right home storage setup keeps gear accessible and protected from damage.
Dedicate one zone, a closet, cabinet, garage corner, or under-bed space, so you know exactly where to find items when packing.
Open shelving or clear containers beat closed boxes where items disappear.
Choose the Right Containers
The right containers protect your equipment and save space.
Stackable plastic bins keep gear dry and stack neatly in tight spaces. Use clear containers and label each bin with waterproof tape or markers.
For gear that needs airflow (like tents and sleeping bags), breathable storage bags work better than sealed plastic. Mesh organizers also allow air circulation while keeping small items grouped together.
Consider collapsible storage options if space is tight. Collapsible shelves and foldable crates take up minimal room when empty but expand when needed. The Container Store's space-saving guide offers practical strategies for maximizing small storage areas.
Organize by Category and Season
Keep all cooking gear in one container, clothing in another, and safety items in a third to speed packing and prevent forgotten items.
If you camp year-round, store winter gear (heavy insulation, cold-weather clothing) separately from summer gear (light layers, sun protection) so seasonal items stay out of the way.
Store heavier items on lower shelves, lighter items above, and frequently used gear at eye level.
Pack Your Car for Car Camping Organization
How you load your vehicle affects safety and accessibility. Aim for a repeatable loading pattern you can execute in under 20 minutes, with gear secured so nothing becomes a projectile in a sudden stop.
Know what goes where before loading anything to avoid last-minute rearranging that wastes time and damages gear.
Load Heavy Items First
Place coolers, water jugs, and dense gear directly on the trunk or cargo floor to lower your center of gravity and improve handling.
Stack sleeping bags, clothing, and tent bags above the heavy gear to keep weight even and prevent shifting.
Use bungee cords or cargo nets so nothing slides around and damages equipment.
A practical weight-distribution rule: keep the heaviest items between the axles and as low as possible. In a sedan, that means the trunk floor over the rear axle; in an SUV or hatchback, the cargo floor behind the second row.
Protect Your Vehicle Interior
Mud, dirt, and moisture from gear damage upholstery and carpet.
Use a trunk liner or cargo mat to protect surfaces. The automotive care guidelines from AAA recommend protective barriers for vehicles carrying outdoor gear. A quilted car trunk pet liner works perfectly for this purpose.
Keep wet or muddy gear in separate containers at the edges of your cargo area so contamination doesn't spread.
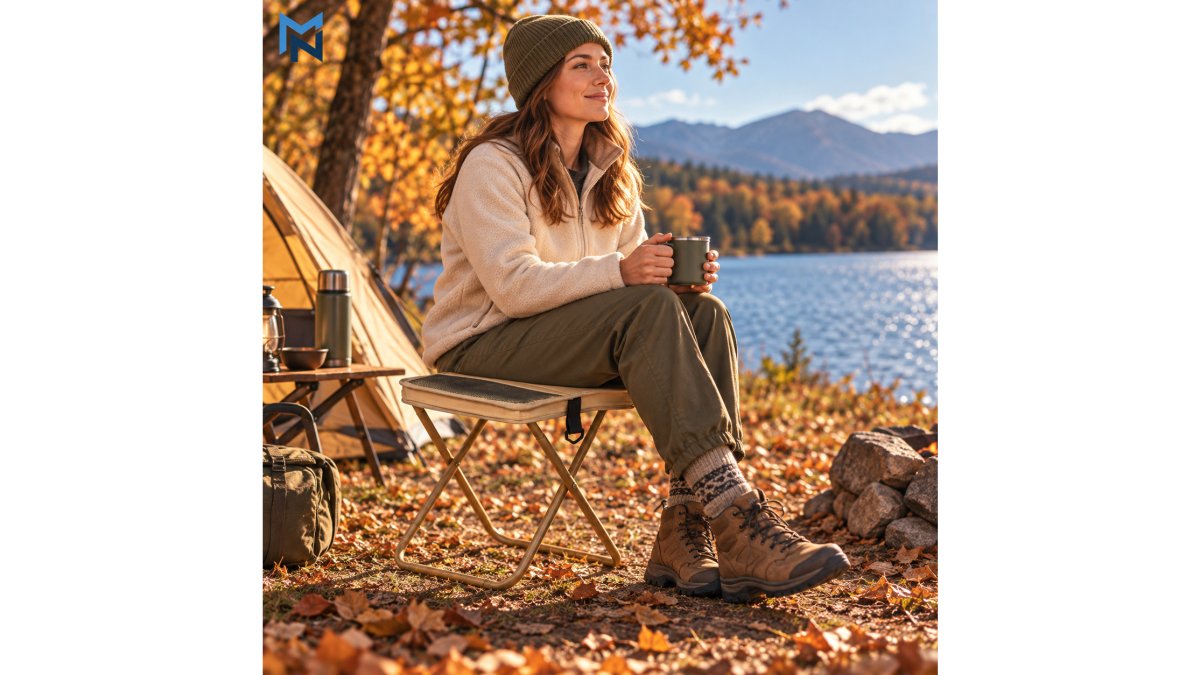
Place your camping stool where you can grab it quickly. The Foldable Camping Stool & Shoulder Bag from MN AMERICA costs $24.99 and folds into a compact bag that fits in your trunk without taking up much space.

Preserve Visibility and Keep Emergency Items Accessible
Do not stack gear above the top of the rear seatback. In most passenger vehicles, that line marks the limit for keeping your rear window clear. A cargo net stretched across the back of an SUV or hatchback keeps bins from sliding forward into the passenger compartment during braking.
Keep a small 'first-out' bag within reach of the front seats: headlamps, a rain shell, snacks, water, a basic first-aid kit, and your campsite reservation or permit. In a crash or breakdown, you want these without unloading the whole vehicle. A common pattern is to use the rear footwell or a seatback organizer for this bag so it stays put.
Use a Repeatable Loading Sequence
A consistent loading order saves time and reduces forgotten items. One workable sequence:
- Lay the trunk liner or cargo mat.
- Load heavy base items (cooler, water, stove fuel) on the floor between the axles.
- Place mid-weight bins (kitchen, tools) next to the heavy items.
- Stack soft goods (sleeping bags, clothing, tent) on top and toward the rear seatback.
- Put the first-out bag and stool within reach of the tailgate or rear door.
- Secure the load with a cargo net or bungee cords and confirm the rear window is clear.
Organize Gear Inside Your Tent and at Camp
How you arrange items inside and around your tent affects comfort and safety.
Use mesh organizers or small bags for personal items, toiletries, and clothing, and hang items on your tent's hooks or loops to keep the floor clear.
Store cooking gear near the cooking area, away from your sleeping tent. Keep food in sealed containers to avoid attracting wildlife, and put tools and safety items where everyone can find them quickly.
Foldable Camping Stool & Shoulder Bag →
Separate sleeping, cooking, and gear storage zones to prevent cross-contamination and keep camp efficient.
Clean and Store Camping Gear After Your Trip
Proper cleaning and storage prevent mold, mildew, and damage. Sort gear at the vehicle into three zones, clean, damp, and dirty, before anything enters your home.
Sort Gear Into Three Zones Before Unloading
Set up three areas at the tailgate or garage floor: clean for dry gear, damp for anything that touched rain or dew, and dirty for muddy boots, cookware, and food waste. One laundry basket per zone works well, with the dirty basket lined with a trash bag.
This five-minute sort prevents the most common post-trip problem: damp gear buried under dry gear, which leads to mildew within days.
Handle Wet and Dirty Gear Properly
Air-dry everything outdoors in sunlight, which kills mold spores and speeds drying.
Rinse muddy items with a hose before drying so mud doesn't harden, then let them sit in the sun for several hours.
Air sleeping bags out in sunlight for a full day and store them loosely in breathable containers, compression damages insulation over time.
Set tents up in your yard and let them dry inside and out before storage, even small amounts of moisture cause mold.
Control Odor and Food Waste
Food waste and damp cookware are the main sources of odor. Scrape food residue into a sealed trash bag at camp, wipe cookware with a damp cloth before packing, and never store dirty cookware with clean kitchen gear.
Drain melted ice from coolers at trip's end, wipe the interior with mild soap, and leave the lid open to dry. A small box of baking soda inside an empty cooler absorbs lingering odors.
Put damp clothing in a breathable laundry bag, not sealed plastic, unless you'll wash it within a day.
Inspect and Maintain Before Storage
Before storing, check tent seams and fabric for tears and look for broken zippers, bent poles, or damaged stakes. Small repairs now prevent bigger problems later.
Wipe your camping stool's frame and fabric with a dry cloth and check hinges and joints.
Sharpen dull tools. Oil metal parts to prevent rust. Replace worn straps or broken fasteners. These maintenance steps take minutes but add years to your gear's lifespan.
Store gear in a cool, dry place, a climate-controlled closet or garage, and avoid flood-prone basements or hot attics.
Run a Post-Trip Reset Routine
A short reset routine makes the next departure faster. After gear is dry and inspected, restock consumables (first-aid supplies, matches, fuel), update your checklist with anything you used up, and return each bin to its labeled home shelf. Note any repairs needed on a sticky note inside the bin lid so you see it before the next trip.
Common Mistakes to Avoid When Organizing Camping Gear
Many people organize camping gear once, then let it fall apart.
Mistake: Storing gear damp. Mold and mildew destroy equipment, always dry gear completely first.
Mistake: Sealed containers for breathable gear. Tents and sleeping bags need airflow; sealed plastic traps moisture.
Mistake: Unlabeled containers. Waterproof labels save you from opening every bin to find what you need.
Mistake: Overstuffing containers.
Mistake: Heavy items on high shelves. Keep heavy gear low to avoid a safety hazard.
Mistake: Mixing wet and dry gear. Store wet gear separately until completely dry.
Mistake: Skipping maintenance between trips.
Mistake: Keeping gear you never use.
A practical approach to camping gear storage combines several tools.
| Organization Step | Best Container Type | Storage Location | Frequency Check |
|---|---|---|---|
| Sleep system | Breathable bag or mesh organizer | Cool, dry closet | Before each trip |
| Cooking gear | Stackable plastic bins | Garage shelf | Monthly |
| Clothing | Vacuum compression bags or bins | Home closet | Seasonal |
| Safety items | Clear labeled container | Accessible shelf | Before each trip |
| Personal items | Mesh organizer or small bins | Tent or car | After each trip |
Organizing camping gear from home storage through vehicle packing to campsite setup saves time and protects your investment. The Foldable Camping Stool & Shoulder Bag, Travel Vacuum Compression Kit, Cordless Mini Car Vacuum, and Quilted Car Trunk Pet Liner work together to help you organize camping gear efficiently.

Frequently Asked Questions
How do you organize camping gear at home to save space?
Start by sorting gear into categories: shelter, cooking, clothing, and safety. Use stackable plastic bins or collapsible storage containers to keep items compact when not in use. Store seasonal gear separately and label each container clearly. Place frequently used items in accessible spots and reserve high shelves for off-season equipment. Vacuum compression bags work well for bulky items like sleeping bags and jackets, reducing their footprint significantly.
What containers work best for organizing camping gear?
Stackable plastic bins with secure lids keep gear dry and protected. Collapsible crates save space when empty. Clear containers let you see contents without opening them. Mesh organizers work for smaller items like utensils and first-aid supplies. For bulky clothing and blankets, the Travel Vacuum Compression Kit ($27.99) compresses items to a fraction of their size, making them easy to pack and store in tight spaces.
How should you store wet or dirty camping gear after a trip?
Air-dry all wet items completely before storage to prevent mold and mildew. Hang tent fabric and sleeping bags in a well-ventilated area for 24-48 hours. Wipe down cooking equipment and tools with a dry cloth. For muddy gear, rinse it outside and let it dry fully. A Cordless Mini Car Vacuum ($34.99) helps remove dirt and debris from tent seams and gear before storage. Store everything in breathable containers once completely dry.
What should be on a camping gear checklist before a trip?
Include shelter (tent, stakes, guylines), sleeping system (bag, pad, pillow), cooking supplies (stove, fuel, cookware, utensils), clothing (layers, rain gear, socks), lighting (flashlight, lantern), safety items (first aid, map, whistle), and personal hygiene products. Cross-reference your stored gear against this list to confirm everything is present and in working condition. Keep a printed checklist with your camping storage area so you can verify items before each trip.